Containerize Your Code
In this tutorial, you will write a Dockerfile, build a container image, test it locally, and push it to Docker Hub so it can be used on ACE HPC. We'll work through a single example from start to finish.
What is a Dockerfile?
A Dockerfile is a plain text file that contains a sequence of instructions for building a container image. Each instruction creates a layer in the image. Docker reads the Dockerfile top-to-bottom, executing each instruction in order, and the result is an image you can run anywhere.
Here are the core instructions:
| Instruction | What it does |
|---|---|
FROM | Sets the base image — your starting point |
RUN | Executes a command during the build (install packages, compile code, etc.) |
COPY | Copies files from your machine into the image |
ENV | Sets an environment variable that persists when the container runs |
WORKDIR | Sets the working directory for subsequent instructions |
CMD | Defines the default command when the container starts |
ENTRYPOINT | Configures the container to run as an executable |
Let's see how these work together in practice.
The Example: A Monte Carlo Simulation
We'll containerize a Python script that estimates the value of Pi using a Monte Carlo method. This is a common computational technique — generate random points in a square, count how many fall inside a circle, and use the ratio to estimate Pi.
Project Setup
On your local workstation (where Docker is installed), create a project directory:
$ mkdir ~/monte-carlo && cd ~/monte-carlo
The Application Code
Create a file called estimate_pi.py:
#!/usr/bin/env python3
"""Estimate Pi using a Monte Carlo method."""

import argparse
import numpy as np
import time
import json
import os

def estimate_pi(num_samples):
    """Generate random points in a unit square, count those inside the unit circle."""
    x = np.random.uniform(0, 1, num_samples)
    y = np.random.uniform(0, 1, num_samples)
    inside_circle = np.sum(x**2 + y**2 <= 1)
    return 4 * inside_circle / num_samples

def main():
    parser = argparse.ArgumentParser(description="Estimate Pi using Monte Carlo simulation")
    parser.add_argument("samples", type=int, nargs="?", default=1_000_000,
                        help="Number of random samples (default: 1,000,000)")
    parser.add_argument("--output", "-o", type=str, default=None,
                        help="Path to write JSON results")
    parser.add_argument("--seed", type=int, default=None,
                        help="Random seed for reproducibility")
    args = parser.parse_args()

    if args.seed is not None:
        np.random.seed(args.seed)

    print(f"Estimating Pi with {args.samples:,} samples...")
    start = time.time()
    pi_estimate = estimate_pi(args.samples)
    elapsed = time.time() - start

    error = abs(pi_estimate - np.pi)
    print(f"  Estimate: {pi_estimate:.8f}")
    print(f"  Actual:   {np.pi:.8f}")
    print(f"  Error:    {error:.8f}")
    print(f"  Time:     {elapsed:.3f}s")

    if args.output:
        results = {
            "samples": args.samples,
            "estimate": pi_estimate,
            "error": error,
            "elapsed_seconds": elapsed,
        }
        with open(args.output, "w") as f:
            json.dump(results, f, indent=2)
        print(f"  Results written to {args.output}")

if __name__ == "__main__":
    main()
Test it locally to make sure it works:
$ python estimate_pi.py 100000
The Requirements File
Create requirements.txt with pinned versions for reproducibility:
numpy==1.24.3
Using numpy==1.24.3 instead of just numpy ensures that anyone building this container — today or six months from now — gets the exact same version. Without pinning, pip install numpy installs whatever the latest version is at build time, which can break your code if the API changes.
Writing the Dockerfile
Now we translate the manual setup steps into a Dockerfile. Create a file called Dockerfile (no extension):
FROM python:3.11-slim

RUN apt-get update \
    && apt-get install -y --no-install-recommends build-essential \
    && rm -rf /var/lib/apt/lists/*

COPY requirements.txt /app/requirements.txt
RUN pip install --no-cache-dir -r /app/requirements.txt

COPY estimate_pi.py /app/estimate_pi.py
RUN chmod +x /app/estimate_pi.py

ENV PATH="/app:$PATH"

WORKDIR /app

CMD ["python", "estimate_pi.py"]
Let's walk through each instruction:
FROM python:3.11-slim — We start from the official Python 3.11 image, using the -slim variant which strips out compilers and docs we don't need. This is ~125 MB instead of ~1 GB for the full image. Avoid python:latest — the meaning of "latest" changes over time, making your builds non-reproducible.
RUN apt-get update && apt-get install ... — Installs system-level build tools that numpy needs for compilation. The --no-install-recommends flag skips optional packages, and rm -rf /var/lib/apt/lists/* cleans up the package cache. These are combined into a single RUN instruction because each RUN creates a new image layer — combining them keeps the image smaller.
COPY requirements.txt ... then RUN pip install ... — We copy the requirements file before the application code. This is intentional: Docker caches each layer, and layers only rebuild when their inputs change. If you change estimate_pi.py but not requirements.txt, Docker reuses the cached pip install layer instead of reinstalling all dependencies. This can save minutes on every rebuild.
COPY estimate_pi.py ... then RUN chmod +x ... — Copies the application code and makes it executable.
ENV PATH="/app:$PATH" — Adds /app to the system PATH so you can run estimate_pi.py directly without specifying the full path.
WORKDIR /app — Sets the working directory. Any subsequent commands (and the default command when the container starts) run from this directory.
CMD ["python", "estimate_pi.py"] — The default command. When you run the container without specifying a command, it executes this. You can override it at runtime by appending a different command.
Building the Image
From the ~/monte-carlo directory (where your Dockerfile lives), run:
$ docker build --platform linux/amd64 -t ianwasukira/monte-carlo:0.1 .
--platformtells docker to build the image for a specific target operating platform, Intel/AMD Linux systems-t ianwasukira/monte-carlo:0.1specifies the account docker should push the image to & tags the image with a name and version.tells Docker to use the current directory as the build context (it looks for a file namedDockerfilehere)
[+] Building 0.5s (10/10) FINISHED                                                                                                                                                             docker:desktop-linux
 => [internal] load build definition from Dockerfile                                                                                                                                                           0.0s
 => => transferring dockerfile: 244B                                                                                                                                                                           0.0s
 => [internal] load metadata for docker.io/library/ubuntu:24.04                                                                                                                                                0.4s
 => [internal] load .dockerignore                                                                                                                                                                              0.0s
 => => transferring context: 2B                                                                                                                                                                                0.0s
 => [1/5] FROM docker.io/library/ubuntu:24.04@sha256:d1e2e92c075e5ca139d51a140fff46f84315c0fdce203eab2807c7e495eff4f9                                                                                          0.0s
 => => resolve docker.io/library/ubuntu:24.04@sha256:d1e2e92c075e5ca139d51a140fff46f84315c0fdce203eab2807c7e495eff4f9                                                                                          0.0s
 => [internal] load build context                                                                                                                                                                              0.0s
 => => transferring context: 92B                                                                                                                                                                               0.0s
 => CACHED [2/5] RUN apt-get update && apt-get upgrade -y                                                                                                                                                      0.0s
 => CACHED [3/5] RUN apt-get install -y python3                                                                                                                                                                0.0s
 => CACHED [4/5] COPY pi.py /code/pi.py                                                                                                                                                                        0.0s
 => CACHED [5/5] RUN chmod +rx /code/pi.py                                                                                                                                                                     0.0s
 => exporting to image                                                                                                                                                                                         0.0s
 => => exporting layers                                                                                                                                                                                        0.0s
 => => exporting manifest sha256:02282c6a660f0cddec59ad57f11bad9be4fa447572128d5a50109d8e8359a478                                                                                                              0.0s
 => => exporting config sha256:d8631be9d908addfd25f392d8cbf70240021c301bc79553e48d6af70067c8450                                                                                                                0.0s
 => => exporting attestation manifest sha256:e2a61ec11f0ea3d3b8c9d38e65039e1c0b9a74f5059478c7b5dcc73d449ee288                                                                                                  0.0s
 => => exporting manifest list sha256:efa123ce9ceaac09819d6f6a0d591c5b39209b61ba4a8d3657a8eac08edfcbd8                                                                                                         0.0s
 => => naming to docker.io/ianwasukira/monte-carlo:0.1                                                                                                                                                         0.0s
You should see Docker execute each instruction. Subsequent builds will be much faster because of layer caching — Docker skips unchanged layers.
Verify the image was created:
$ docker images monte-carlo
REPOSITORY    TAG    IMAGE ID       CREATED          SIZE
monte-carlo   0.1    a1b2c3d4e5f6   30 seconds ago   198MB
Testing the Container
Run the container with the default command:
$ docker run --rm monte-carlo:0.1
The --rm flag removes the container after it exits (otherwise stopped containers accumulate). You should see output like:
Estimating Pi with 1,000,000 samples...
  Estimate: 3.14132400
  Actual:   3.14159265
  Error:    0.00026865
  Time:     0.024s
Override the default to pass arguments:
$ docker run --rm monte-carlo:0.1 python estimate_pi.py 10000000 --seed 42
Write output to a file using a bind mount — this maps a directory on your host into the container so data persists after the container exits:
$ mkdir -p ~/monte-carlo/output

$ docker run --rm \
    -v ~/monte-carlo/output:/output \
    monte-carlo:0.1 \
    python estimate_pi.py 5000000 --output /output/results.json

$ cat ~/monte-carlo/output/results.json
Start an interactive shell inside the container to explore:
$ docker run --rm -it monte-carlo:0.1 /bin/bash
From inside the container, you can run python, check installed packages with pip list, inspect the filesystem, and so on. Type exit to leave.
Using .dockerignore
When Docker builds an image, it sends the entire build context (the . directory) to the Docker daemon. If your project directory contains large data files, .git history, or output files, these are unnecessarily copied and slow down the build.
Create a .dockerignore file to exclude them:
.git
__pycache__
*.pyc
output/
*.log
This works exactly like .gitignore — any matching files are excluded from the build context.
Pushing to a Container Registry
Your image currently lives only on your local machine. To use it on ACE HPC, push it to a container registry.
Docker Hub
# Log in (you'll be prompted for your Docker Hub credentials)
$ docker login

# Tag the image with your Docker Hub username
$ docker tag monte-carlo:0.1 ianwasukira/monte-carlo:0.1

# Push
$ docker push ianwasukira/monte-carlo:0.1
The push refers to repository [docker.io/ianwasukira/monte-carlo]
b73415306fae: Pushed
4f4fb700ef54: Mounted from ianwasukira/pi-estimator
66a4bbbfab88: Pushed
3fc31d9c7e98: Pushed
3cc646d3f0dd: Pushed
9dd65c448696: Pushed
0.1: digest: sha256:7e702eccde1d6c730f65a47d45ce7078a54519a232dd6b84137ba14f2f4705f4 size: 856
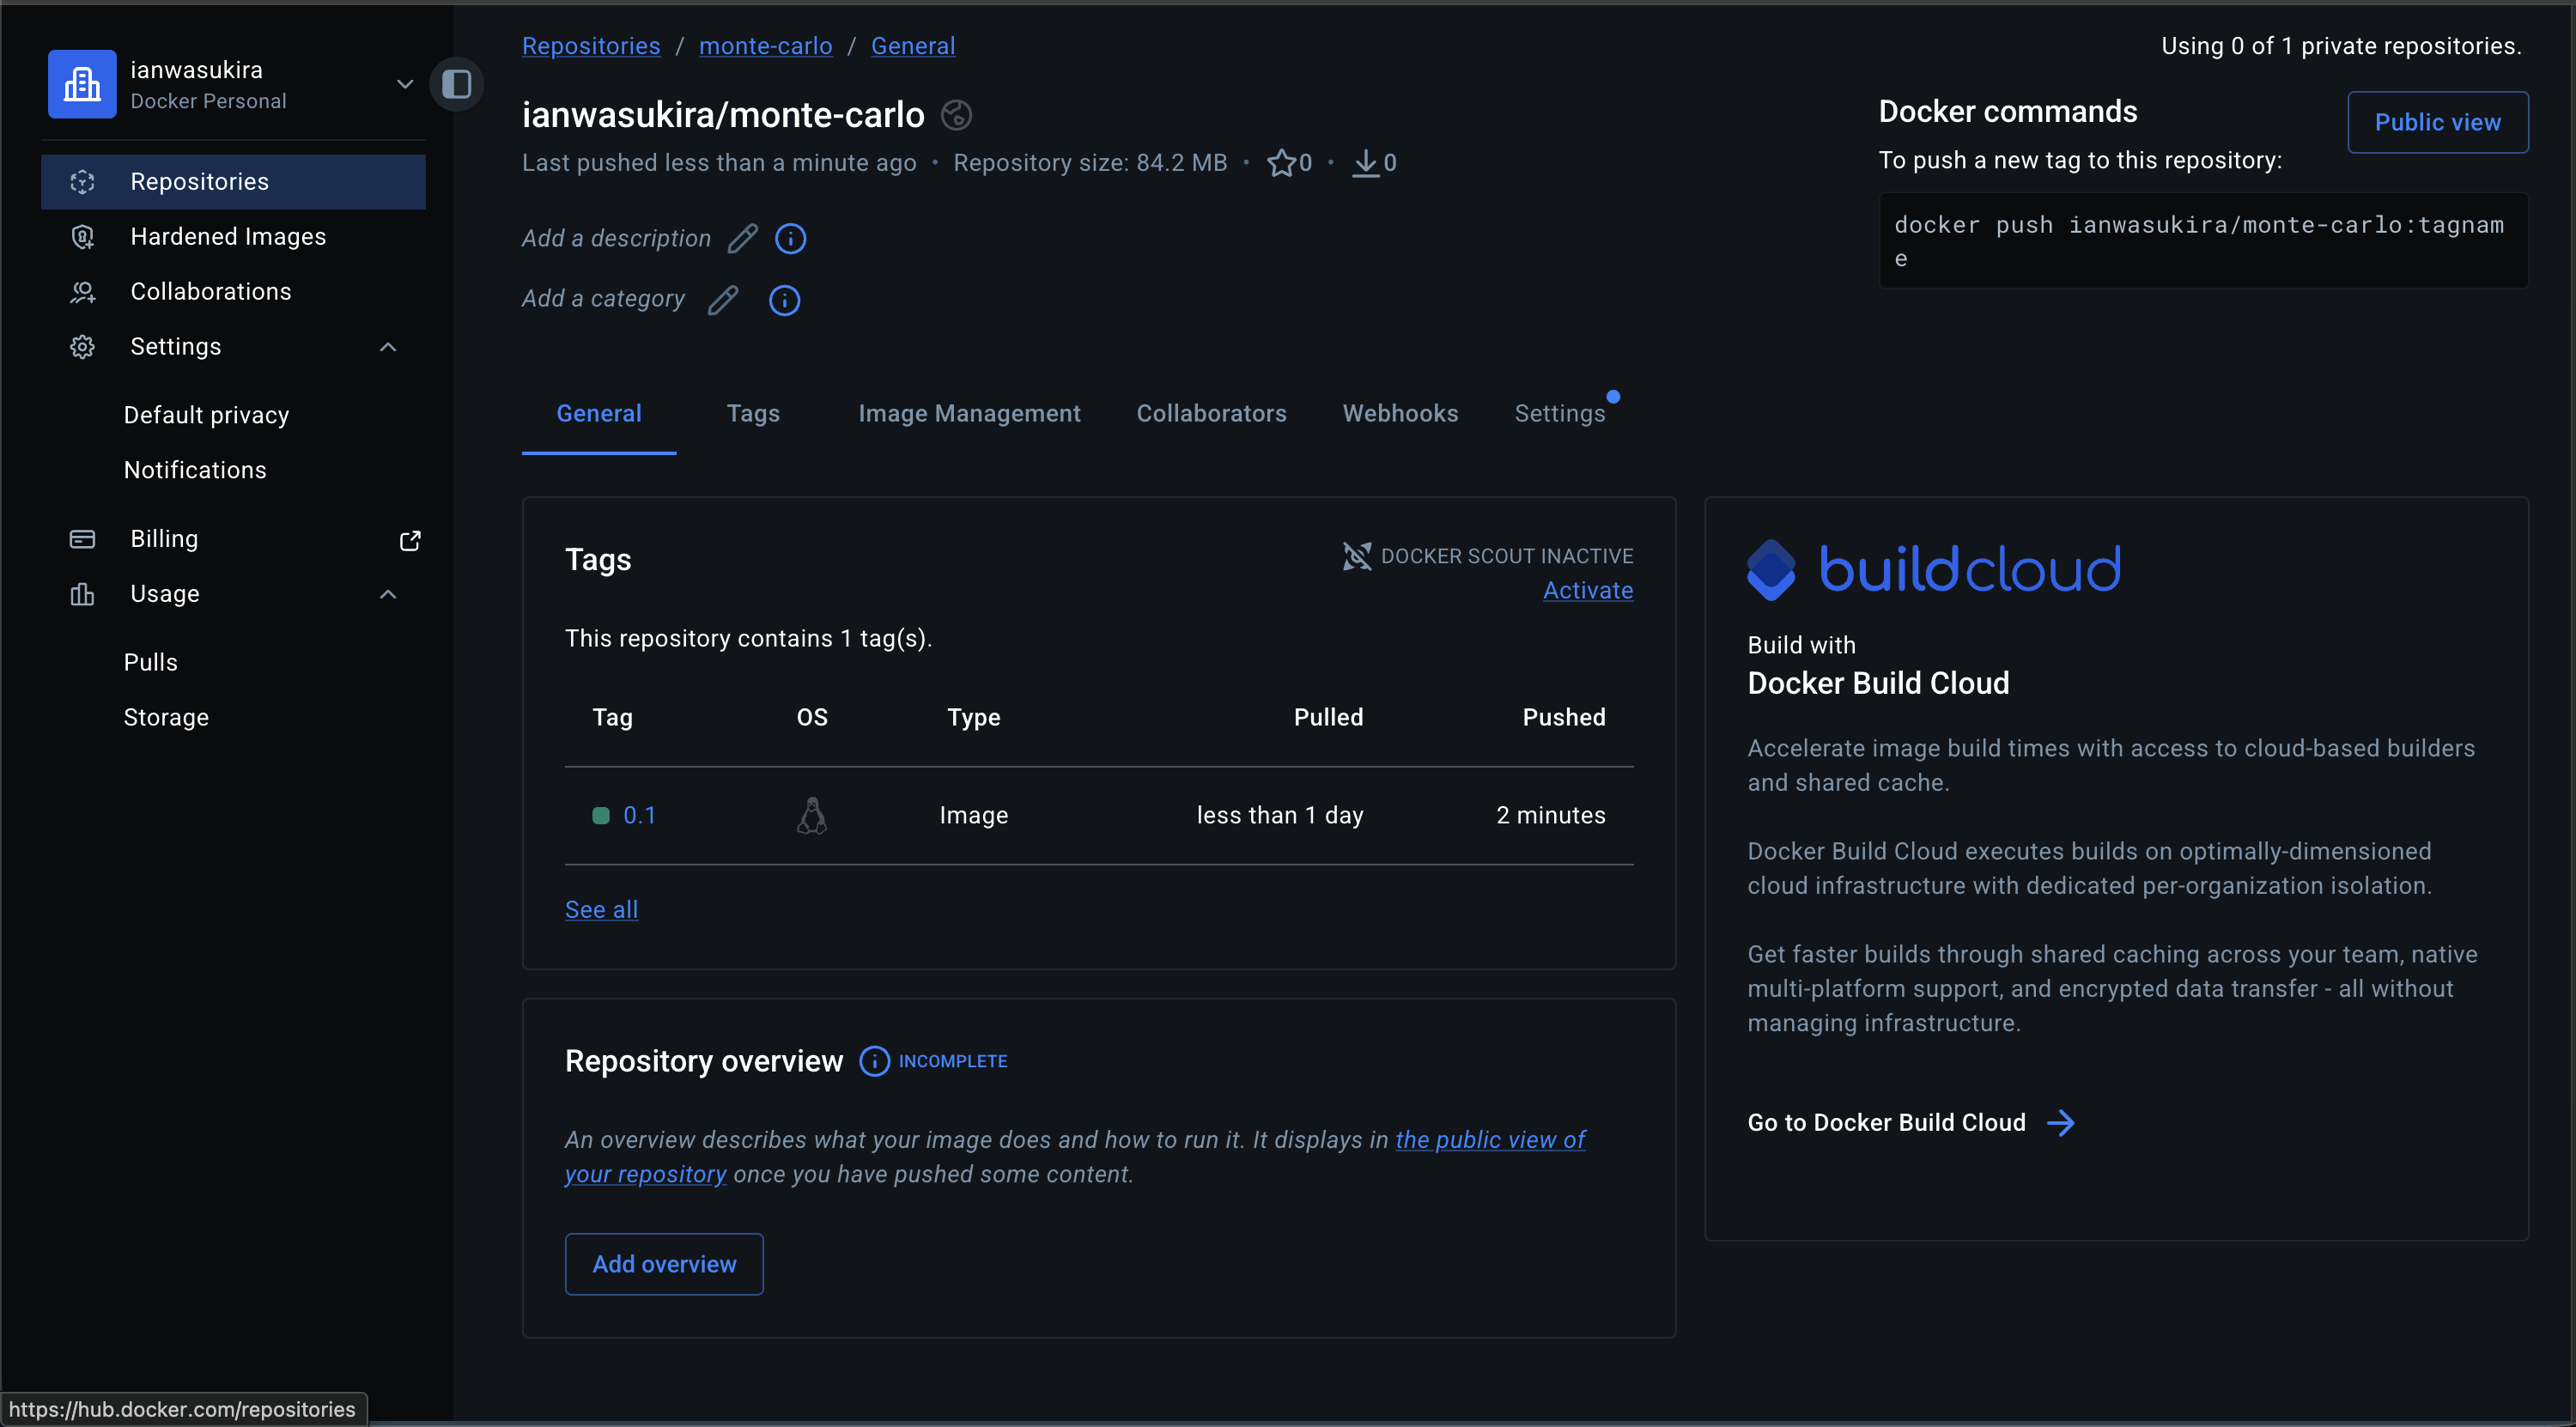
Navigate to Docker Hub on your preferred web browser, and go to your repositories.
Alternatively, you can use the GitHub Coontainer Registry (GHCR);
GitHub Container Registry
# Log in using a personal access token
$ echo $GITHUB_TOKEN | docker login ghcr.io -u USERNAME --password-stdin

# Tag for GHCR
$ docker tag monte-carlo:0.1 ghcr.io/yourusername/monte-carlo:0.1

# Push
$ docker push ghcr.io/yourusername/monte-carlo:0.1
Pulling on ACE HPC
Once pushed, Apptainer can convert the Docker image to its native .sif format. apptainer pull downloads and converts the image — the result is a single portable file you can reference in your job scripts:
$ module load apptainer
$ apptainer pull docker://iawasukira/monte-carlo:0.1
INFO:    Converting OCI blobs to SIF format
INFO:    Starting build...
INFO:    Fetching OCI image...
28.4MiB / 28.4MiB [=============================================================================================================================================================================] 100 % 3.5 MiB/s 0s
13.2MiB / 13.2MiB [=============================================================================================================================================================================] 100 % 3.5 MiB/s 0s
41.1MiB / 41.1MiB [=============================================================================================================================================================================] 100 % 3.5 MiB/s 0s
INFO:    Extracting OCI image...
INFO:    Inserting Apptainer configuration...
INFO:    Creating SIF file...
INFO:    To see mksquashfs output with progress bar enable verbose logging
This creates a file called monte-carlo_0.1.sif. See the next section for how to pull and run this correctly inside a SLURM job.
Running Containers with SLURM
The commands shown above (apptainer pull and apptainer run) are for illustration only. Do not run them directly on the head node. The head node is a shared login environment — running compute workloads there slows it down for everyone and may get your session terminated by the system administrators.
All container execution must happen inside a SLURM job script submitted to the compute cluster.
The apptainer pull step (converting the Docker image to a .sif file) can be resource-intensive and should also be done inside a job. Here is the correct approach for pulling and running the Monte Carlo container:
#!/bin/bash
#SBATCH --job-name=monte-carlo
#SBATCH --ntasks=1
#SBATCH --cpus-per-task=4
#SBATCH --mem=8G
#SBATCH --time=01:00:00
#SBATCH --output=monte-carlo-%j.out
#SBATCH --error=monte-carlo-%j.err

module load apptainer

# Pull the image from Docker Hub (only needed once; skip if .sif already exists)
if [ ! -f monte-carlo_0.1.sif ]; then
    apptainer pull docker://ianwasukira/monte-carlo:0.1
fi

# Run the simulation inside the container
apptainer run monte-carlo_0.1.sif 1000000 --output results.json
Submit it with:
$ sbatch monte-carlo.sh
The full workflow for running containers on ACE HPC, including bind mounts and GPU access, is covered in Containers on HPC Clusters.
Next: Containers on HPC Clusters — pull your images on ACE HPC with Apptainer, write SLURM job scripts, and run MPI and GPU workloads.